

How Cabinet Refacing Works From Start to Finish
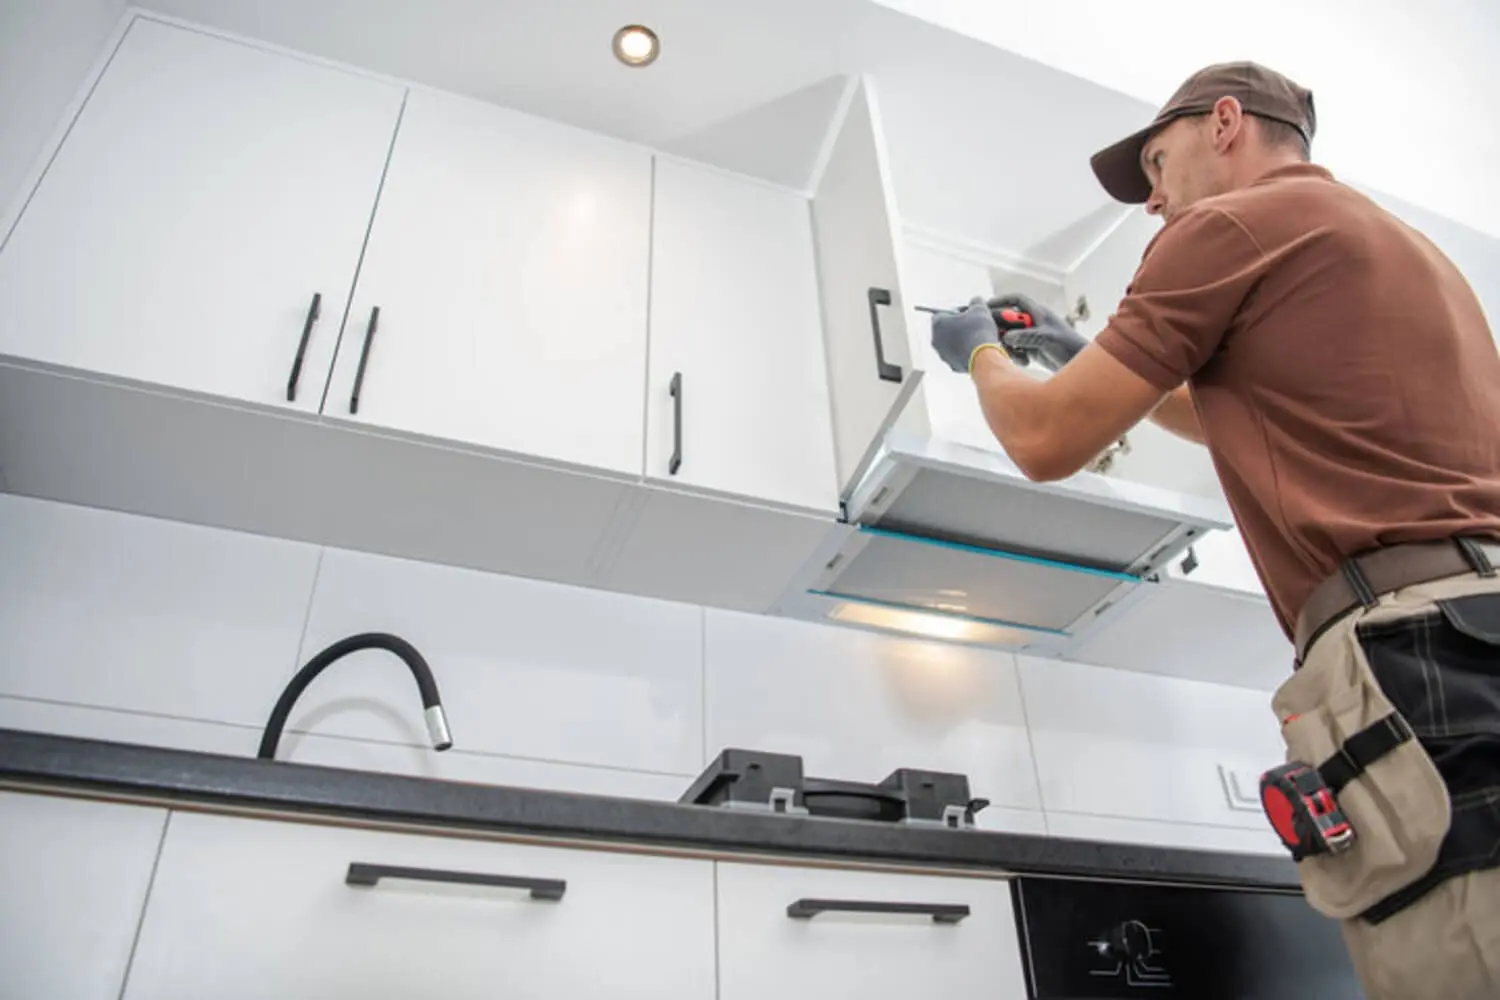
If you’ve already decided that cabinet refacing makes more sense for your kitchen than cabinet refinishing or a full replacement, the next question is a practical one: what actually happens? Understanding how cabinet refacing works step by step — what the professional does, what your kitchen looks like at each stage, and how long the whole thing takes — is what turns a general interest into a confident decision to move forward.
Cabinet refacing is not a shortcut. It’s a structured, multi-stage process that requires precision at every step. Knowing what goes into it helps you understand what you’re getting and feel prepared before the work begins.
Step 1 — Assessing Your Cabinets Before Any Work Begins
Before any materials are ordered or installation is scheduled, a professional evaluates the condition of your existing cabinet boxes. This isn’t a formality. The assessment determines whether your cabinets are actually a good candidate for refacing and what the project will require.
The professional is looking for several things:
- Whether the cabinet boxes are structurally solid and able to hold weight
- Signs of water damage, warping, or rot that would compromise the finished result
- Whether the boxes are level and square, which affects how doors hang and align
- Any surface damage to the face frames that needs to be addressed before veneer goes on
If the boxes are in good condition, the project moves forward. If there are structural issues, the professional will explain what’s been found and what the options are. Not every kitchen is a candidate for refacing, and catching that at the assessment stage protects you from investing in work that won’t deliver a durable result. The cabinet refacing service process starts here, not at the installation day.
For the homeowner, this stage is a walkthrough and conversation. You’ll talk through your goals for the kitchen, confirm the scope, and get a clear picture of what the project involves before anything is committed.
Step 2 — Selecting Your Materials and Door Style
Once the cabinets are confirmed as good candidates, the focus shifts to what the finished kitchen will look like. This is the most participatory stage of the process for the homeowner. You’re making decisions about door profile, finish color, veneer material, and hardware style — the choices that determine what your kitchen looks like when the project is done.
This stage matters to the timeline as much as the aesthetics. Materials are ordered based on your selections, and the lead time between finalizing choices and the installation days is part of the overall schedule. Nothing can be built or installed until selections are locked in.
The professional guides the selection based on what works with your existing cabinet boxes, your kitchen layout, and the look you’re going for. If you’re still working through whether refacing is even the right choice for your kitchen, the differences between your options are worth understanding before this conversation happens — the two approaches solve different problems, and the selection stage is much easier when you already know what direction you’re going.
Step 3 — Removing Old Components and Preparing the Surfaces
On the first day of installation, the professional removes everything attached to the cabinet boxes: doors, drawer fronts, hinges, pulls, and handles. The boxes stay in place. Everything else comes off.
At this point, your kitchen will look stripped and unfinished. This is normal. It’s the most visually disruptive moment of the project, and it passes quickly as installation progresses. The kitchen is not out of commission, but it won’t look like itself until the new components go on.
With the doors and hardware removed, the professional turns to the exposed surfaces of the cabinet boxes — the face frames and sides. These surfaces are:
- Cleaned thoroughly to remove grease, residue, and anything that would prevent adhesion
- Deglossed and sanded to create a surface the veneer can bond to fully
- Inspected for minor damage that needs to be addressed before veneer application begins
The prep work at this stage determines how long the finished result holds up. Veneer applied to a poorly prepared surface will lift, peel, or fail early. The time the professional spends here is not wasted time — it’s what makes the installation that follows worth doing.
Step 4 — Applying Veneer to the Cabinet Boxes
With the surfaces prepared, the professional applies veneer to the visible exterior surfaces of the cabinet boxes — the face frames and exposed sides. The veneer is cut to fit each surface precisely before it goes on.
This is detail work. Edges, corners, and seams where two cabinets meet all require careful trimming and fitting. A gap at a seam, a bubble in the middle of a panel, or a misaligned edge at a corner will be visible in the finished kitchen. The professional is working for a seamless, flush result that will read as a continuous surface once the doors are installed.
As the veneer goes on, the cabinet boxes begin to take on the new finish. The transformation is visible but incomplete at this stage. The kitchen still looks like a work in progress — the new surface is there, but without doors and hardware it doesn’t read as a finished kitchen yet.
Before moving to installation, the professional checks every section for full adhesion, clean edges, and even coverage. Any area that hasn’t bonded correctly or shows a visible seam is addressed here, not later.
Step 5 — Installing New Doors and Drawer Fronts
The new doors arrive pre-built in the style and finish selected in Step 2. The professional hangs them on the freshly veneered face frames using new hinges, then attaches the new drawer fronts to the existing drawer boxes.
Each door and drawer front is fitted individually and adjusted for alignment. Doors need to hang level, swing freely, and close flush. Drawer fronts need to sit evenly with consistent gaps between them. This fitting and adjustment stage takes time and is where the skill of the installer shows most clearly — the difference between a professional result and an amateur one is usually visible here.
This is also where the kitchen starts to look like itself again. The new door style becomes visible for the first time. The transformation reads as a complete kitchen rather than a construction zone, and for most homeowners this is the moment the project starts to feel real.
Step 6 — Installing Hardware and Final Adjustments
With the doors and drawer fronts in place, the professional installs the hardware — the pulls, knobs, and handles selected in Step 2. Hinges are adjusted for consistent gap and reveal across all doors. Every door and drawer gets a final check for level, smooth operation, and consistent alignment.
This stage completes the visual transformation. Hardware is the finishing detail that pulls the full look together. The kitchen goes from looking like new cabinets to looking like a designed, finished space.
Any door that doesn’t swing cleanly or any drawer front that sits out of plane gets corrected here before the professional moves to the walkthrough. The goal at the end of this stage is a kitchen where everything works exactly as it should.
Step 7 — The Final Walkthrough
Before the project closes, the professional and homeowner go through the kitchen together. Every door is opened and closed. Every drawer is pulled and pushed. Each surface is examined for alignment, adhesion, and finish quality.
As a homeowner, you’re looking for:
- Consistent gaps between doors and between drawer fronts
- Smooth operation on all drawers with no sticking or misalignment
- Clean veneer edges at every seam and corner with no lifting or gaps
- Hardware that is level, secure, and positioned consistently
Anything you notice during the walkthrough gets addressed before the crew packs up. This is the right time to raise questions or point out anything that doesn’t look right — not after the project is closed. When the walkthrough is complete and any items are resolved, the project is done and the kitchen is ready to use.
What to Expect During the Project
A professional cabinet refacing project in a typical kitchen takes two to five days from the first installation day to the final walkthrough. The materials selection and lead time happen before the installation days begin, so by the time the crew arrives, the project moves efficiently.
Refacing is significantly less disruptive than a full cabinet replacement. Because the boxes stay in place, there is no demolition, no countertop removal, and no plumbing or electrical work. Your kitchen stays accessible throughout most of the project.
To prepare for the installation days, you’ll want to:
- Clear everything off the countertops
- Remove items from inside the cabinets near or above the work area
- Plan for the kitchen to look stripped during the removal and prep phase — usually the first day
Most homeowners can use parts of their kitchen during the project. The professional will communicate each day about what is accessible and what isn’t. The most disruptive phase is the first day after removal, before installation is underway. Once the veneer is on and the doors start going up, the kitchen comes back together quickly.
A Kitchen That Feels New Without Starting Over
The process described in this blog is structured and sequential. Every stage builds on the one before it — assessment confirms the cabinets qualify, material selection determines what they’ll look like, preparation ensures the installation holds, and installation brings the finished kitchen together. The final walkthrough closes the project with both parties confident the work is done right.
For a homeowner in Oakland County who has been weighing this decision, the unknowns are now gone. What’s left is a straightforward next step: have a professional look at your specific cabinets, talk through your goals for the kitchen, and get an estimate for the actual scope of the work.
Contact us to schedule a free consultation. We’ll assess your cabinets, walk you through your material options, and give you a clear picture of what the project would involve for your kitchen.